Series: Building a Real-Time Data Platform from the Edge — Post 3 of 7. The full source is on GitHub: rpi-data-platform
Most Zigbee write-ups end at the point where a sensor shows up in a dashboard. Pair it, see a green dot, done. That’s the wrong place to stop if the data is going anywhere else afterwards — and in this platform, it is. Everything in this post exists to answer one question: what, exactly, is on the wire by the time a Kafka producer picks it up?
This post pairs the two sensors from Post 1, stands up Zigbee2MQTT and Mosquitto, and looks closely at three things: how a Zigbee network actually forms, what MQTT’s Quality of Service (QoS) levels promise (and don’t), and what Zigbee2MQTT does to turn a Zigbee Cluster Library attribute report into a JSON document on a topic.
The two sensors, again
Post 1 picked these two deliberately, for the contrast:
| Sensor | Model | Stream shape |
|---|---|---|
| Door/window | Sonoff SNZB-04P | Sparse, event-driven — emits on state change |
| Smart plug | Sonoff S60ZBTPF | Continuous, multi-field — power, voltage, current, energy |
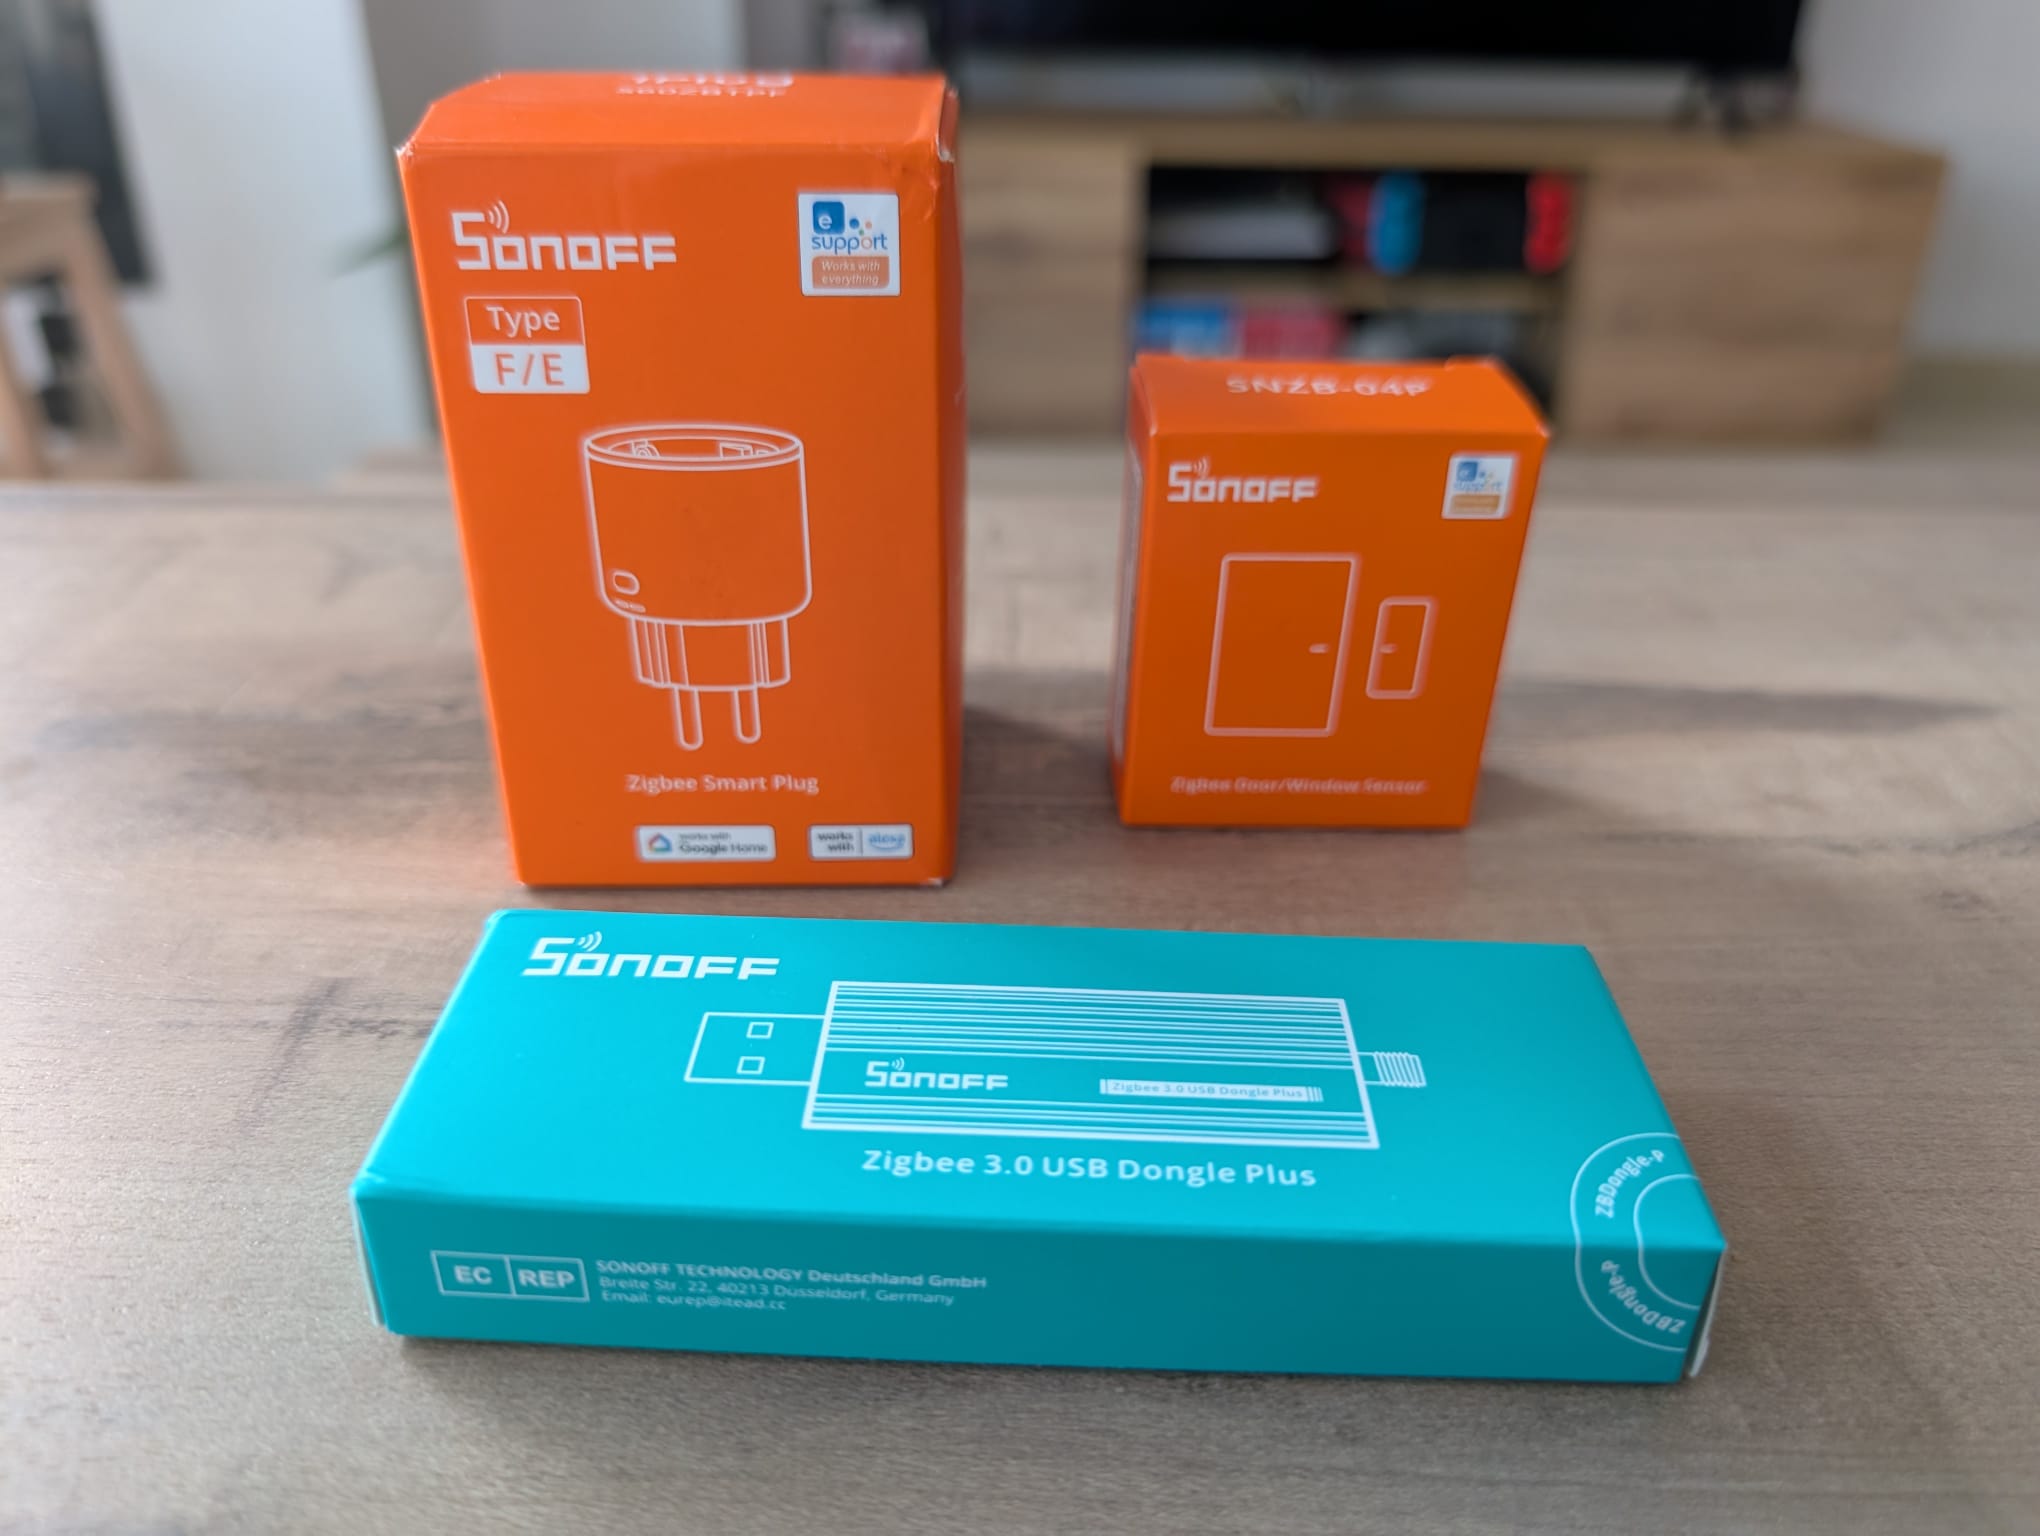
That contrast is the point. One produces a handful of bytes a day unless someone opens a door. The other produces a steady trickle of numeric readings. Both arrive on Mosquitto looking like JSON on an MQTT topic. Nothing downstream — Kafka, Spark, Delta — cares that one started life as a radio packet from a battery-powered door sensor and the other from a mains-powered plug. That’s the abstraction this post builds.
Zigbee: a mesh network with a gatekeeper
Zigbee runs on IEEE 802.15.4 — same physical layer family as Thread, much lower power than Wi-Fi. The trade-off is the point: a coin-cell battery in a door sensor lasting years instead of days.
That low power comes from a mesh topology with three roles:
- Coordinator — forms the network, holds the network key, the only device that can let new devices join
- Router — mains-powered devices (like the smart plug) that also relay traffic for others
- End device — battery-powered, sleeps most of the time, talks to a router or the coordinator and goes back to sleep
The SNZB-04P is an end device. The S60ZBTPF, being mains-powered, is a router — which means once it’s paired, it’s also extending the mesh for anything else added later.
None of this exists until a coordinator creates a network with a Personal Area Network identifier (PAN ID) and a channel. Unlike Wi-Fi, where a device just joins whatever access point is broadcasting, a Zigbee network has no default state. The coordinator — in this case the ZBDONGLE-E — is what gives the network its identity.
The adapter setting that quietly determines whether any of this works
The ZBDONGLE-E ships with Z-Stack firmware from Texas Instruments — the same protocol family used by TI CC2652-based coordinators. Zigbee2MQTT needs to be told which protocol it’s talking to:
serial:
  port: /dev/ttyUSB0
  adapter: zstack
  baudrate: 115200
Get this wrong and there’s no obvious error. The container starts, the serial port opens, the logs look plausible — and the Zigbee network simply never forms. The failure mode is a repeated HOST_FATAL_ERROR in the ASH layer, which sounds like a hardware problem but is actually a protocol mismatch: the wrong adapter type sends the wrong framing bytes and the dongle ignores them entirely. It’s a one-line config value with a binary outcome.
If you’re unsure which adapter your dongle uses, let Zigbee2MQTT’s auto-discovery tell you. Start the container once with an empty data directory and check the logs for a line like:
Matched adapter: {...} => zstack: 4That’s the adapter type to put in configuration.yaml.
MQTT: publish/subscribe, and what Quality of Service actually promises
Mosquitto is the broker sitting between Zigbee2MQTT and everything downstream. Two things about MQTT matter for what comes later in this series.
Topics are the only structure you get. No schema, no types — a topic string and a byte payload. Zigbee2MQTT publishes one topic per device, under a zigbee2mqtt/<friendly_name> prefix. That topic structure is a design decision that will resurface in Post 4, when the Kafka producer has to decide how MQTT topics map onto Kafka topics.
QoS is a promise between two hops, not end to end. MQTT defines three levels:
- QoS 0 — fire and forget, no acknowledgment
- QoS 1 — at-least-once, the receiver acknowledges, duplicates are possible
- QoS 2 — exactly-once, a four-step handshake, no duplicates
The trap is assuming QoS 2 on the Zigbee2MQTT → Mosquitto hop means “exactly-once” for the pipeline as a whole. It doesn’t. It means exactly-once for that hop. The Kafka producer subscribing to Mosquitto is a separate client with its own QoS setting, and Kafka itself has its own delivery semantics on top of that. Three independent guarantees, each scoped to one hop — and “exactly-once” as an end-to-end property is something that gets engineered deliberately later (Post 5), not inherited for free from any one component.
Retained messages encode state, not events. Zigbee2MQTT publishes with the retain flag set, so a new subscriber immediately gets the last known state of every device without waiting for the next change. That’s useful — but it means the MQTT topic represents “current state,” while what eventually lands in Delta Lake needs to represent “what happened and when.” That distinction between state and event is one this pipeline has to actively manage, not one MQTT resolves for you.
Zigbee2MQTT: from Zigbee Cluster Library attributes to JSON
A Zigbee device doesn’t expose “battery level” or “contact state” directly — it exposes clusters and attributes, defined by the Zigbee Cluster Library (ZCL). The SNZB-04P’s contact state, for instance, lives in the genOnOff/closuresDoorLock-style clusters depending on the device profile, reported as raw attribute values.
Zigbee2MQTT’s actual job is translating that. For each supported device, it has a converter that knows which clusters and attributes that specific model uses, and an exposes definition that describes the resulting JSON shape — what fields exist, their types, their ranges. This is the layer that lets one piece of software support thousands of devices from dozens of vendors without a vendor software development kit (SDK) for each one.
The output, for the SNZB-04P, looks like this:
{
  "contact": true,
  "battery": 100,
  "tamper": false,
  "linkquality": 255
}
Four fields, flat JSON, one topic. Whatever the underlying ZCL representation was, it’s gone by the time this hits Mosquitto. That’s the trade — and it’s the same trade every translation layer in this stack makes: Zigbee2MQTT trades cluster-level fidelity for a uniform JSON contract, the same way the Kafka producer will later trade per-device MQTT topics for a uniform Kafka schema.
Setting it up
Two services: Mosquitto as the broker, Zigbee2MQTT as the bridge.
Plugging in the dongle
Plug the ZBDONGLE-E into one of the Pi’s USB ports. Confirm the kernel detected it:
lsusbLook for a line mentioning ITEAD, Silicon Labs, or Sonoff:
Bus 001 Device 004: ID 1a86:55d4 QinHeng Electronics SONOFF Zigbee 3.0 USB Dongle Plus V2Find the stable device path the kernel assigned:
ls -l /dev/serial/by-id/lrwxrwxrwx 1 root root 13 Jun 14 usb-ITead_Sonoff_Zigbee_3.0_USB_Dongle_Plus_<serial>-if00-port0 -> ../../ttyUSB0This by-id path is stable across reboots — it’s derived from the dongle’s USB serial number, unlike the raw device node (ttyUSB0) which can shift if the USB topology changes. Copy the full filename; you’ll put it in the compose file next.
Config files
mosquitto/config/mosquitto.conf
persistence true
persistence_location /mosquitto/data/
log_dest file /mosquitto/log/mosquitto.log
log_dest stdout

listener 1883
allow_anonymous true
allow_anonymous true is a deliberate simplification, not an oversight — the broker is reachable only inside the Docker network and on the local network. A production deployment would add a password file and TLS (Transport Layer Security). For a single-Pi lab, that’s complexity with no corresponding benefit, and it’s worth being explicit about that rather than pretending it’s a production config.
services/mqtt/docker-compose.yml
  mosquitto:
    image: eclipse-mosquitto:2
    container_name: mosquitto
    restart: unless-stopped
    ports:
      - "1883:1883"
    volumes:
      - ./mosquitto/config:/mosquitto/config:ro
      - mosquitto_data:/mosquitto/data
      - mosquitto_log:/mosquitto/log
    networks:
      - data-platform
    healthcheck:
      test: ["CMD-SHELL", "mosquitto_pub -h 127.0.0.1 -p 1883 -t healthcheck -m ping -q 0"]
      interval: 5s
      timeout: 3s
      retries: 5
      start_period: 5s

  zigbee2mqtt:
    image: ghcr.io/koenkk/zigbee2mqtt
    container_name: zigbee2mqtt
    restart: unless-stopped
    depends_on:
      mosquitto:
        condition: service_healthy
    ports:
      - "8080:8080"
    devices:
      - /dev/serial/by-id/usb-ITead_Sonoff_Zigbee_3.0_USB_Dongle_Plus_<your-serial>-if00-port0:/dev/ttyUSB0
    volumes:
      - ./zigbee2mqtt/data:/app/data
      - /run/udev:/run/udev:ro
    environment:
      - TZ=Europe/Madrid
    networks:
      - data-platform

volumes:
  mosquitto_data:
  mosquitto_log:
Replace <your-serial> with the serial number from the ls /dev/serial/by-id/ output above. This is the only setup step that requires a value from the host — and it’s a one-time copy from a command you’d run anyway to confirm the dongle was detected.
A few things worth noting about this config.
The devices: mapping passes the dongle into the container using its stable by-id path on the host side, mapped to /dev/ttyUSB0 inside the container. This is more precise than privileged: true (which grants access to every host device) and more robust than mapping the raw node directly — the by-id name is tied to the dongle’s USB serial number and doesn’t change across reboots.
Mosquitto mounts its config directory read-only (:ro) — the container only needs to read the config file, not write to it. The data and log directories use named Docker volumes rather than bind mounts. Mosquitto runs as its own non-root user inside the container (UID 1883), and if Docker creates a bind-mount directory on the host it will be owned by root, which Mosquitto can’t write to. Named volumes are managed by Docker and don’t have that ownership problem.
The healthcheck publishes a test message to the broker every five seconds. Zigbee2MQTT’s depends_on uses condition: service_healthy rather than the default condition: service_started — the difference matters here. service_started means “the container process launched,” which happens before the broker is actually accepting connections. service_healthy means “the health check passed,” so Zigbee2MQTT won’t try to connect until Mosquitto is genuinely ready.
zigbee2mqtt/data/configuration.yaml
homeassistant: false
permit_join: true

mqtt:
  server: 'mqtt://mosquitto:1883'

serial:
  port: /dev/ttyUSB0
  adapter: zstack
  baudrate: 115200

frontend:
  port: 8080
  host: '0.0.0.0'

advanced:
  network_key: GENERATE
  log_level: info
Bringing the stack up
The only things that need to exist before running are mosquitto/config/mosquitto.conf and zigbee2mqtt/data/configuration.yaml — both are committed. Named volumes for Mosquitto’s data and log are created by Docker on first run. Zigbee2MQTT’s data directory already exists because the config file is in it.
Start everything with a single command:
docker compose up -dDocker Compose respects the depends_on ordering: Mosquitto starts first, and Zigbee2MQTT only starts once Mosquitto has passed its health check. No manual sequencing needed.
To watch the startup:
docker compose logs -f zigbee2mqttThe sequence to look for:
Coordinator type: EmberZNet
Starting zigbee-herdsman...
Network channel: 11
Network started
Permit join is enabled, next timeout: 254s
Zigbee2MQTT started!
If the network never starts — the most common reason is the wrong adapter: value in configuration.yaml. For the ZBDONGLE-E it must be ember. If you see the container start and immediately go quiet with no coordinator log line, that’s the problem.
The Zigbee2MQTT web frontend is now accessible at http://<pi-ip>:8080. It shows the network map, lets you toggle permit join, rename devices, and inspect live payloads — the fastest way to confirm pairing is working.
Pairing the sensors
With permit_join: true in configuration.yaml and both containers running, the network is open for new devices. The Zigbee2MQTT frontend shows a countdown timer for how long the window stays open.
S60ZBTPF (smart plug — router)
Plug it into a mains socket. Press and hold the button on the side for about five seconds until the LED starts blinking rapidly — that’s the pairing signal. As a mains-powered router-class device it tends to join quickly, usually within a few seconds. In the Zigbee2MQTT logs you’ll see:
New device joined: 0x<ieee-address>
Successfully interviewed 0x<ieee-address>, device has been added to the network
Device type: Router
Supported: Yes
Once it appears in the frontend, set a friendly name — smart-plug works — under the device settings. Zigbee2MQTT uses that name as the MQTT topic suffix.
SNZB-04P (door/window sensor — end device)
If the sensor is new, inserting the battery puts it into pairing mode automatically for 60 seconds. If it has been paired elsewhere before, factory reset it first: press and hold the small reset button on the back for five or more seconds until the LED blinks three times, then release. It re-enters pairing mode immediately.
The LED will blink once when it successfully joins. In the logs:
New device joined: 0x<ieee-address>
Successfully interviewed 0x<ieee-address>, device has been added to the network
Device type: EndDevice
Supported: Yes
Set a friendly name — door-sensor — the same way.
Closing the pairing window
Once both devices are joined, set permit_join: false in services/mqtt/zigbee2mqtt/data/configuration.yaml and restart the container:
docker compose restart zigbee2mqttLeaving a Zigbee network open to new joins indefinitely is a real attack surface — any Zigbee device in range could join and start publishing to your broker. There’s no reason to keep the window open past initial setup.
What’s on the wire
Subscribe to all Zigbee2MQTT topics to watch the live stream from both devices:
docker exec -it mosquitto mosquitto_sub -t 'zigbee2mqtt/#' -vThe -v flag prints the topic alongside the payload, so you can tell which device each message came from.
SNZB-04P (door sensor)
Open and close the door or window. Each state change produces one message:
zigbee2mqtt/door-sensor {"contact":true,"battery":100,"tamper":false,"linkquality":255}
zigbee2mqtt/door-sensor {"contact":false,"battery":100,"tamper":false,"linkquality":255}
contact: true means closed, contact: false means open. The sensor is an end device that sleeps between events — you won’t see a steady stream, only a message on each change plus an occasional heartbeat every few minutes to report battery level. That sparse, event-driven pattern is exactly what Post 1 described.
S60ZBTPF (smart plug)
The plug reports power readings on a regular interval, roughly every 10–30 seconds depending on firmware:
zigbee2mqtt/smart-plug {"state":"ON","power":12.4,"voltage":230.1,"current":0.054,"energy":0.42,"linkquality":201}Five numeric fields — power in watts, voltage in volts, current in amps, energy as a cumulative kilowatt-hour counter, plus linkquality. Because the plug is a mains-powered router it never sleeps, so the stream is continuous. That’s the contrast with the door sensor: one payload every few seconds versus one payload every state change.
Both payloads are flat JSON — no nesting, no envelopes. That uniformity is what Zigbee2MQTT’s converter layer buys: two completely different devices with different Zigbee cluster profiles producing the same JSON-on-a-topic shape that anything downstream can consume without knowing anything about the Zigbee layer that produced it.
Topic design, and the bridge to Kafka
Zigbee2MQTT’s default is one MQTT topic per device, under zigbee2mqtt/<friendly_name>. That’s a sensible default for Zigbee2MQTT’s own use case — but it’s not automatically the right shape for what comes next.
Post 4 introduces the Kafka producer, and the first real decision it has to make is how these per-device MQTT topics map onto Kafka topics: one Kafka topic per device, mirroring MQTT, or a single sensor-events topic carrying both schemas with a device_type field to distinguish them. Post 1 already named the single-topic approach as the starting point — partitioning by device type “later when throughput justifies it.”
That decision is easy to make casually and hard to unmake later, because it determines how the Spark job in Post 5 reads and parses the stream — one schema per topic, or one topic with a union of schemas read by a single job. Worth deciding deliberately once the actual payload shapes from both devices are confirmed, not before.
Previous: Post 2 — Flashing Raspberry Pi OS Lite and setting up a headless edge node Next: Post 4 — Kafka on arm64: KRaft mode, topic design, the Python producer bridge